
Foolproof, Flaky, All-Butter Pie Crust
Today I am finally getting around to sharing my recipe for All-Butter Pie Crust. This crust is made with butter (no shortening), and is completely foolproof. It turns out flaky, perfect and delicious every time.
Admittedly, I am not a huge fan of pie. In fact my only recipe for pie on this entire blog is for the delicious Derby Pie, that I make every year on the Kentucky Derby Day, and this is the crust I use. Other than that, it is pretty rare that I make a pie crust. So, that is why I can tell you that if a person who rarely delves into making pie, can create a perfect, flaky crust every year for her derby pie, you can definitely do the same!
Let me show you how I do it . . .
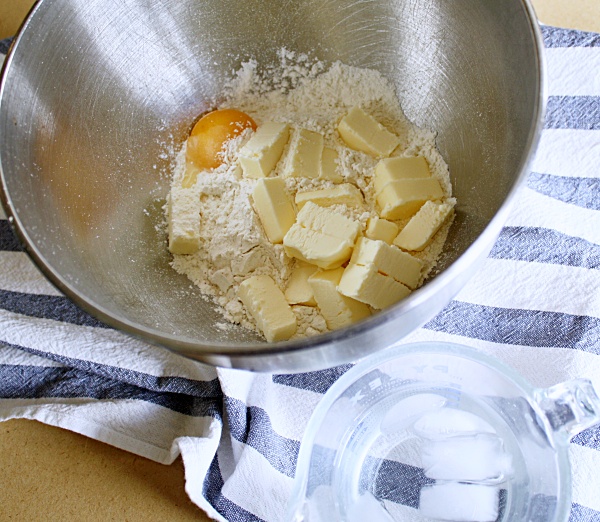
Put flour, salt, frozen butter cubes, and egg yolk in the bowl of your stand mixer (yes, egg yolk. I'm not sure why. It probably adds some richness and color, but I don't question. I just add that yolk, because this pie crust never fails.)
When I am making this pie dough, the first thing I do is cut up the butter into cubes and then put it in the freezer while I am gathering, prepping, and measuring the rest of my ingredients. Usually by the time I have done all that I feel like the butter is cold enough to add to the mix.

With the paddle attachment, combine the ingredients until the mixture looks like a coarse meal. Hooray! No cutting in. Now, if you want to use your pastry blender, or two knives to cut in the butter, you can, but this is way easier.

Once the mixture looks right, turn the mixer to low, and add the ice-water, 1 Tbsp. at a time, until the mixture comes together into a dough. Don't overmix, and don't add too much water or the dough will be sticky.
For the ice-water. It is exactly like it sounds. I actually put some cold water in a cup and add ice to it and let it sit, and get super cold while I am putting together the other ingredients. Cold Butter and Ice water are key to getting those flaky layers everyone wants.

Form the dough into a disk and wrap in plastic wrap. Put it in the fridge for at least 30 minutes. We need to keep the butter in the crust nice and cold.

On a lightly floured board/countertop, roll the dough into a circle. It does not need to be perfect. As you can see, mine looks pretty rough. You just need to make sure it fits in your pie plate, with a little hanging over the sides.
If you see swirls and streaks of butter in your dough - Perfect! That is just how it should look.

Trim the pie dough down, so only about 1/4-1/2 inch of dough hangs over the side of the pie plate. If you want, save those scraps and make some pie crust cookies. My favorite!
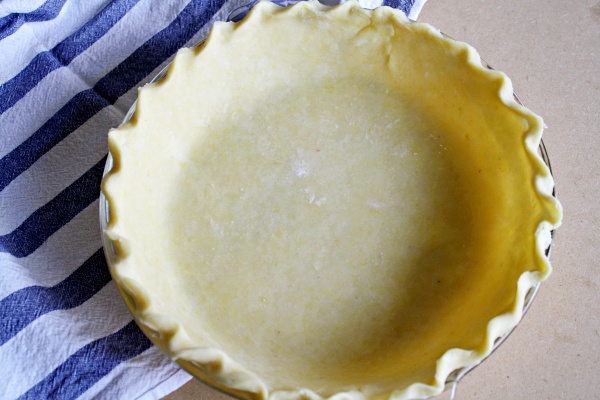
Crimp the edges.
All-butter pie crusts tend to shrink more than pie crusts made with shortening, so here are a couple tips to keep the shrinking to a minimum. First, make sure your crimped edges are on top of the pie plate rim, rather than down on the inside. Second, refrigerate your crust for at least 30 minutes before baking.
At this point it is ready for blind baking, or to be filled and then baked, depending on the pie you are making.
This recipe makes enough for one single-crust pie. If you are making a double crust pie, you will need to double the recipe.
Now finally, the recipe . . .
This easy pie crust recipe is truly the best I have ever tried. I hope you try it and like it as much as I do.
