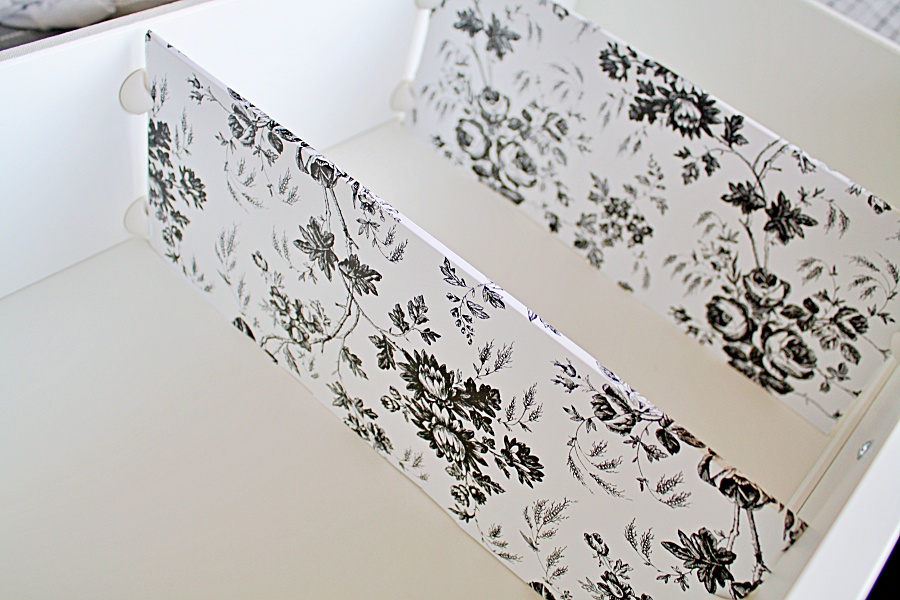
Easy, Inexpensive, DIY Drawer Dividers
Like a lot of people at this time of year, I have been busy trying to declutter and organize my home. As I was working in my principal bedroom closet, I got to thinking that I never shared these easy DIY drawer dividers on the blog.
About a year ago, I was doing a major closet organization, and I wanted to put some drawer dividers in the large drawers that were at the top of the chest of drawers in my closet, but when I got pricing them, they were more than my budget would allow at the time, so I had to get creative. I made these simple drawer dividers, and I'm telling you they could not be easier, and they have worked very well for me for the past year. Granted, I am an adult, so I don't know how well these would hold up in my boys' chest of drawers, but for how easy they are to make and how inexpensive they are, I think I would even give them a try there too if the need arose.
So, since I am showing you this project after the fact, I just kind of took it apart and hopefully between my explanation and the pictures, you will get the idea. It really is so simple.
First, I purchased some cord clips from Amazon. They would serve as the holders for my dividers. I will include an affiliate link to the ones I purchased and used at the end of the post.
Second, I purchased some contact paper. I found mine at Dollar Tree,
Lastly, I found a piece of foam core poster board that I had left over from one of my kid's school projects, but you could easily use a piece of sturdy cardboard as well. Just make sure it is rigid and doesn't bend easily.
I measured the depth and height of the drawer and cut the cardboard just slightly shorter than the measurements in each direction - you will need heavy duty scissors, or an x-acto knife for this.
Then I removed the adhesive backing from the cord clips and attached them where I wanted them in the drawer. I probably should have put two in both the back and the front, but to save a few pennies, I just put two in the back of the drawer, and one in the front, and I haven't had any trouble with the divider tipping or being unstable, so I think you could probably get away with just using three as well.
Once, you have installed the cord clips, slide the cardboard insert you have cut into the clips and make sure it fits properly. If it doesn't, you may have to trim it a bit until it fits.
Now cover the cardboard insert in the contact paper of you choice.
And finally, slide the insert into place in the drawer.
Now you can fill up that drawer in a nice, organized fashion, for very little investment in time or money.
*Affiliate Link


